Showing posts with label wood glue. Show all posts

Wednesday, December 3, 2014

And I'll Form the Head!

Finally had some dry weather to seal the bricking up and start final assembly of the container.


As you can see, I am using deck screws in the pre-existing holes in the driftwood (check back a few posts and you can see I got the pieces strung like a boa).  Forget glue, I'm holding the top of this thing down with good old fashioned steel.


Three deck screws in a triangle, each covered over with some wood putty that I can later paint to better match the wood make those nasty shiny screw heads go away.


And while I had the wood putty out, I went ahead and sealed up the inside gaps with it.  I'm not overly concerned about this part looking pretty since it will be below the soil line, it just has to be functional.  Once its thoroughly dried, I'll go over it with some sealant as well to make sure moist soil doesn't slowly rot it out.

That will be my third and final coat of sealant on this thing.  My general motto is that its organic wood next to moist soil, the ideal conditions for rot.  Better to have too much sealant (especially on the inside) and waste a layer than to not have enough and have all my hard work turn into a pile of mush in a couple years.


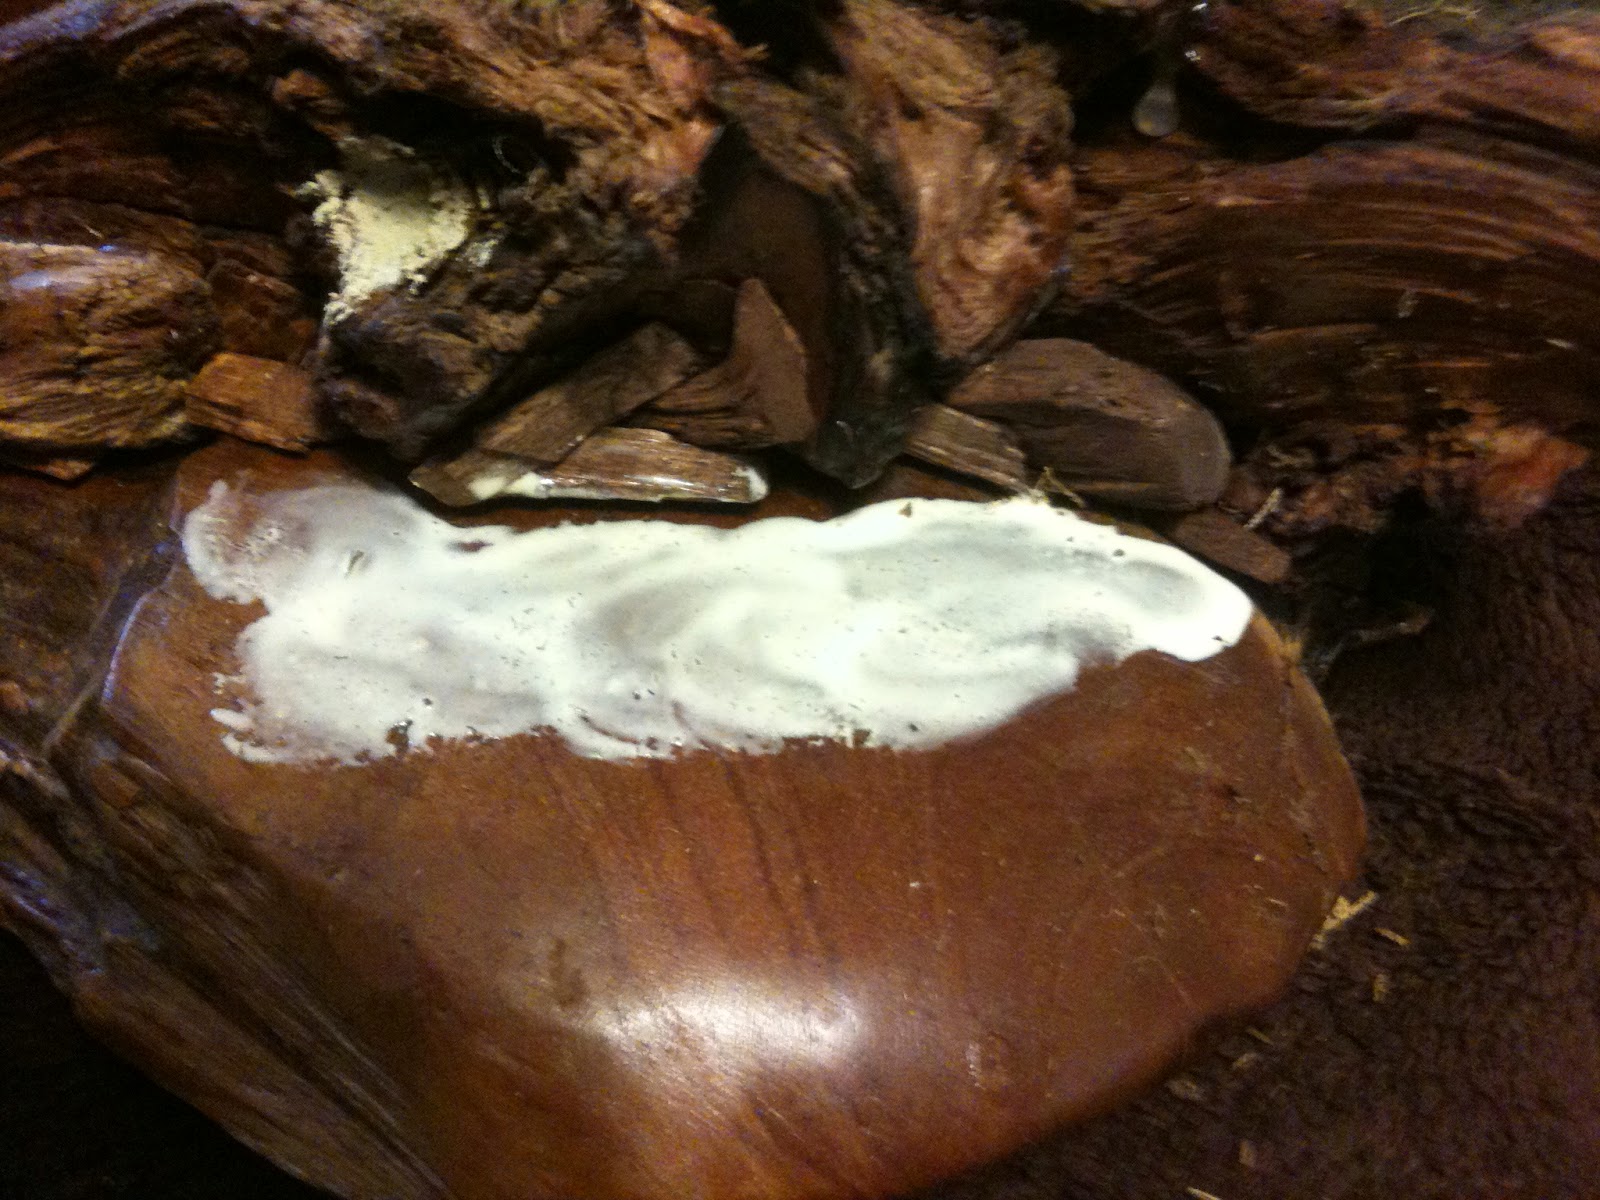
Since I was already working on the rest, I decided to go ahead and apply the moss to areas that didn't need any more attention.  Its pretty simple, just put some wood glue on the surface, and swirl it around with your finger to make a more or less even layer of glue, then push the moss into it.


I've got a lot of wet on here now between the moss glue and the putty, so its going to have to dry for at least a day or two before I touch it again.  Thats when I'll do final touch ups on the paint to hide the external putty, string out the moss a bit more where it looks too unnaturally clumpy, and then hit it all with one final layer of clear coat gloss enamel.

I did some test sprays of the enamel on some scrap moss and there was no visible change in it while it did stiffen it up quite a bit.  This is a good thing, as it will help make it nice and hard and hence more durable while still looking like natural growing moss.  Again, no point in doing it if its just going to fall apart in a couple years.

Then it'll be done, and I can fill it with soil and start working on skull positioning.  I'm debating on if I want the entire skull above the ground, or half bury the lower jaw so its mostly the top half of the skull showing.  I've kind of grown to like how that looks in some of the pictures I've taken for the blog here, so it'll be something to experiment with for a later post.

Saturday, November 29, 2014

A Bowl Is Fine Too

One of the most important skills to learn when you're a maker is to look for what things could be, instead of what they currently are.  Thats not always easy to get into, because you have to learn to ignore whatever it is someone else is telling you an item is, and look at shapes, textures, etc to see what you could turn it into.

Today I was doing some post Black Friday shopping, seeing if I could find any good containers pre-made and ready to go that I could us for this project (among other things), but even at the biggest place in town I couldn't really find anything that suited my, ahem, "unique" requirements.  And this place has thousands of different containers.

So, I decided to stop by one of my favorite haunts, the local salvage yard.  You never know what they're going to have, and today I got lucky.  Big stained teak wood bowls, and a string of driftwood/wood knots/etc.  They're the perfect things I need to make the base container for a forest theme!


Plus, it kinda looks like the Millennium Falcon!

Now, like anything this has it's ups and it's downs.  On the up side, this is a very nice looking piece of raw-ish looking wood that just looks very nice.  The downside however is that it isn't really that deep.  Its less of a bowl and more of an overly deep serving platter.  Another downside is that it being sold as a bowl means it has zero drainage.

The drainage problem is the easy part, a few minutes with a power drill will solve that, and some polyurethane sealant over the drill holes to seal them back up will keep the holes from rotting out once we start putting moist soil in it.  The other problem is that its not really deep enough to hold enough soil for me.  So, thats where those driftwood chunks come in.


Picking out several well shaped pieces of wood and tacking them together with some wood glue, I can form a ring around the top of the bowl.


And once the wood glue spots completely harden, it should be firm enough that I can lift the ring up, glue it together from underneath, and seal it all with polyurethane, doubling the depth of this new planter to be.

Another thing I picked up for this was some bathroom tile.  Yes, bathroom tile.


This stuff was all of 87 cents a tile, which might be murder if I was doing a bathroom, but for this one pack is more than enough.  All I have to do is break it and I'll have very nice looking stone shards I can use to brick up gaps in the wood ring, create some slate like stone features, or whatever else I need a to break up the all wood texture I currently have going on.

Then once I've got everything the way I want it, I can do a final coating on the inside with something like cement to plug up any remaining holes, and my base container will be complete.  Then, it'll be time to decorate it.  They sell very nice looking dried mosses as flocking for model trains and the like, I'll grab some of that to cover some of the boring flat areas of the bowl, and into some of the crevices of the driftwood to help hide my joins.

With any luck, I'll end up with a container that looks like it came right off the forest floor.