
As you can see, I am using deck screws in the pre-existing holes in the driftwood (check back a few posts and you can see I got the pieces strung like a boa). Forget glue, I'm holding the top of this thing down with good old fashioned steel.


Three deck screws in a triangle, each covered over with some wood putty that I can later paint to better match the wood make those nasty shiny screw heads go away.


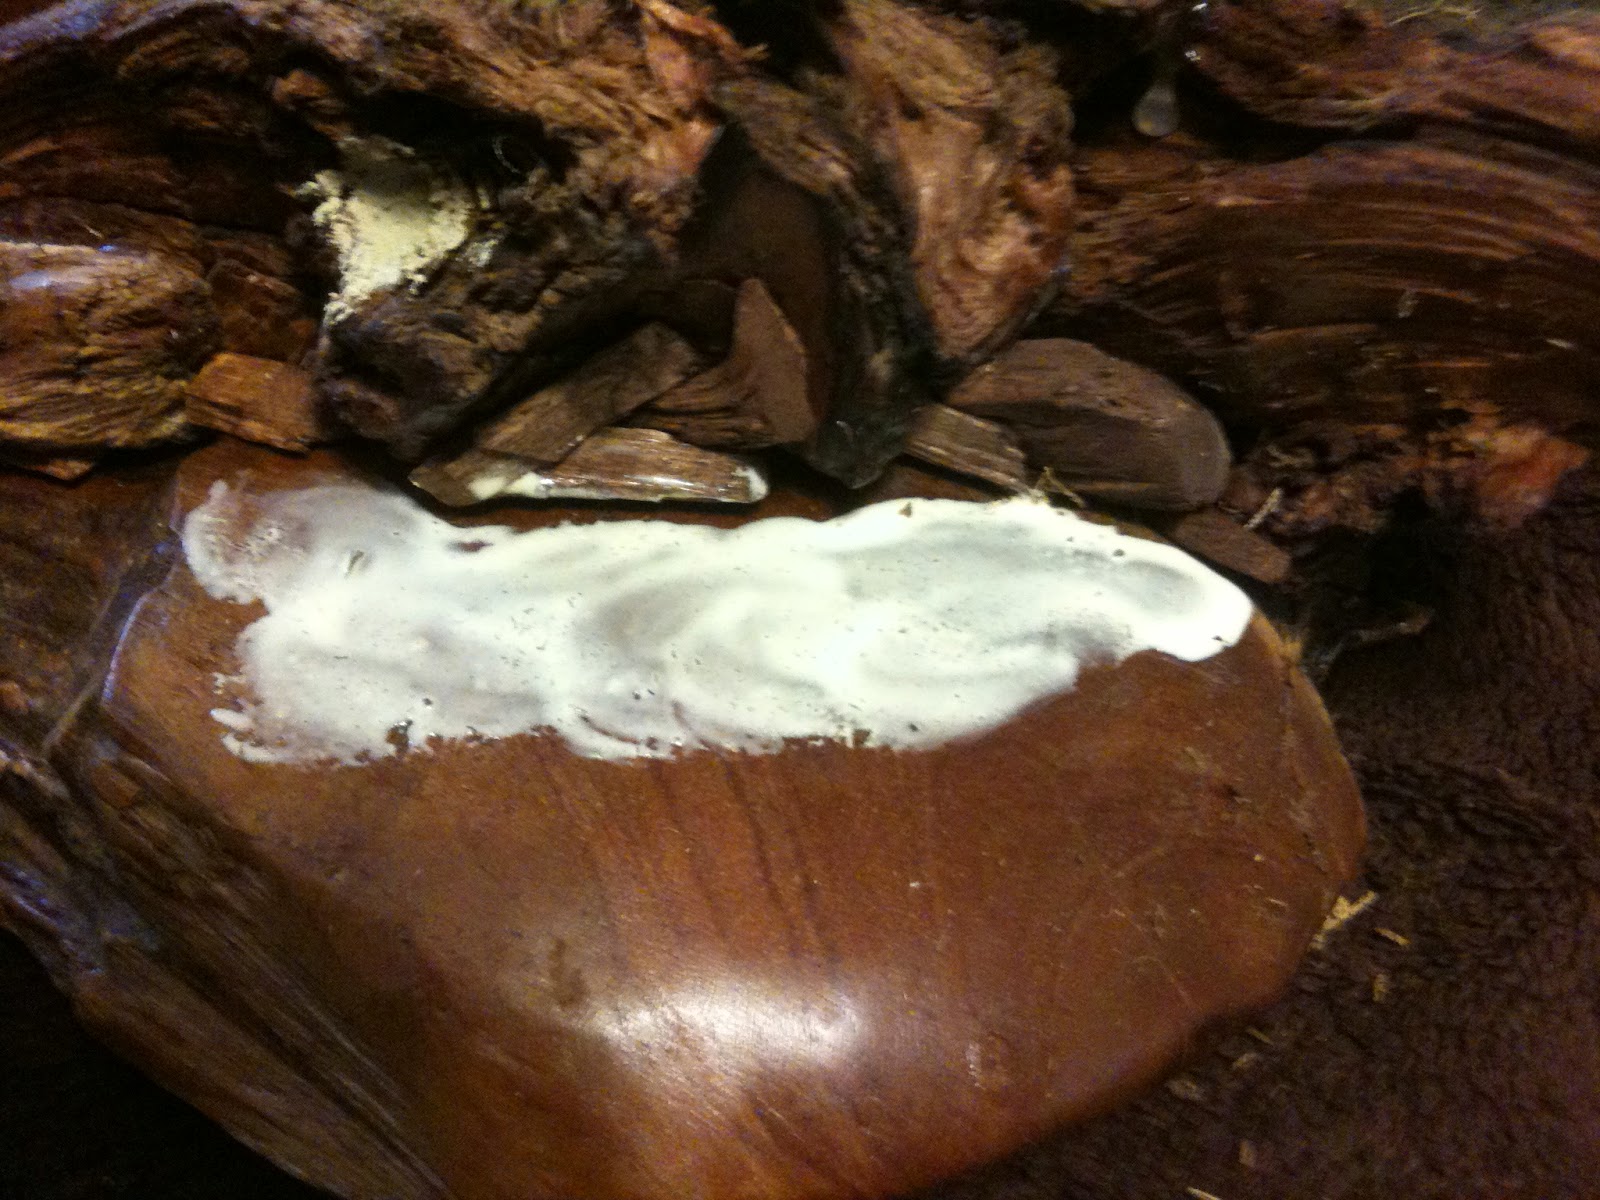
And while I had the wood putty out, I went ahead and sealed up the inside gaps with it. I'm not overly concerned about this part looking pretty since it will be below the soil line, it just has to be functional. Once its thoroughly dried, I'll go over it with some sealant as well to make sure moist soil doesn't slowly rot it out.
That will be my third and final coat of sealant on this thing. My general motto is that its organic wood next to moist soil, the ideal conditions for rot. Better to have too much sealant (especially on the inside) and waste a layer than to not have enough and have all my hard work turn into a pile of mush in a couple years.
Since I was already working on the rest, I decided to go ahead and apply the moss to areas that didn't need any more attention. Its pretty simple, just put some wood glue on the surface, and swirl it around with your finger to make a more or less even layer of glue, then push the moss into it.

I've got a lot of wet on here now between the moss glue and the putty, so its going to have to dry for at least a day or two before I touch it again. Thats when I'll do final touch ups on the paint to hide the external putty, string out the moss a bit more where it looks too unnaturally clumpy, and then hit it all with one final layer of clear coat gloss enamel.
I did some test sprays of the enamel on some scrap moss and there was no visible change in it while it did stiffen it up quite a bit. This is a good thing, as it will help make it nice and hard and hence more durable while still looking like natural growing moss. Again, no point in doing it if its just going to fall apart in a couple years.
Then it'll be done, and I can fill it with soil and start working on skull positioning. I'm debating on if I want the entire skull above the ground, or half bury the lower jaw so its mostly the top half of the skull showing. I've kind of grown to like how that looks in some of the pictures I've taken for the blog here, so it'll be something to experiment with for a later post.
No comments:
Post a Comment